
How to cook rice
Learning the hard way
How to cook rice seems like a great debate. I always grew up with a rice cooker at home. So, when I first moved out of my parents’ house, while not a starving student, I was without some otherwise basic household amenities. I burnt or mushed COUNTLESS pots of rice.
In a rice cooker, take the little cup that the cooker comes with. Fill flush to top. Rinse rice in cooker pot and then fill to line (of however many mini-cups you added). Push button. Walk away.
So if cooking basic white rice is just two ingredients and is so simple to cook, how did I keep messing up? Well, sometimes the simplest things in life are the most difficult.
Generally, ratios for rice are 2:1, water:rice. Easy, right? Wrong.
Methodology
If this is your first time making rice, welcome! That said, you may need a little trial and error (like with all cooking!) but once you nail it, you’ll be dialed in.
As I was recently reminded by my chef-brother, depending on what kind of rice you are using can also affect both cooking time and quantity of water needed.
One cup of raw rice produces approximately 3 cups of rice. Think of the water being absorbed into the rice grains and then, because of the cooking process, air will also develop in cooked rice, so it will have the appearance of growing/expanding.
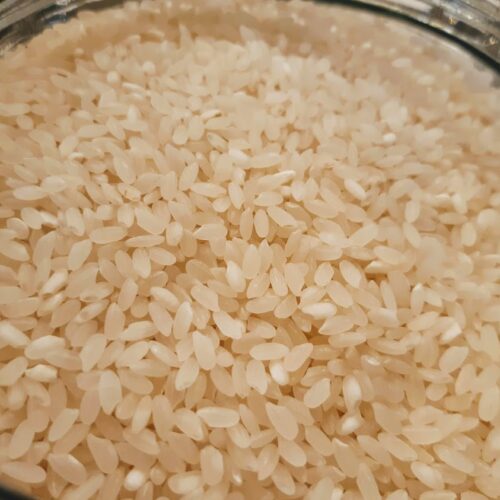
Rinsing: ALWAYS rinse your rice! My Grandma says minimum 3 times or until water comes out almost clear 🙂
For best results, cook minimum 2 cups of rice and use a heavy pot with a tight-fitting lid.
Long-grain rice: longer grain rices will require more water than their short-grain counterparts. For basmati, use up to 2 cups of water for every 1 cup of rice. Jasmine, use 1.2-1.5 cups or water (after rinsing)
Short-grain rice: Japanese/Korean/Thai sticky rice/sushi rice – higher glutenous rices – will require slightly less water.
Rice Recipe – Rice cooker and Stove-top Instructions
Ingredients
- 1 cup rice
- 2 cup water
- ½ tsp salt (optional)
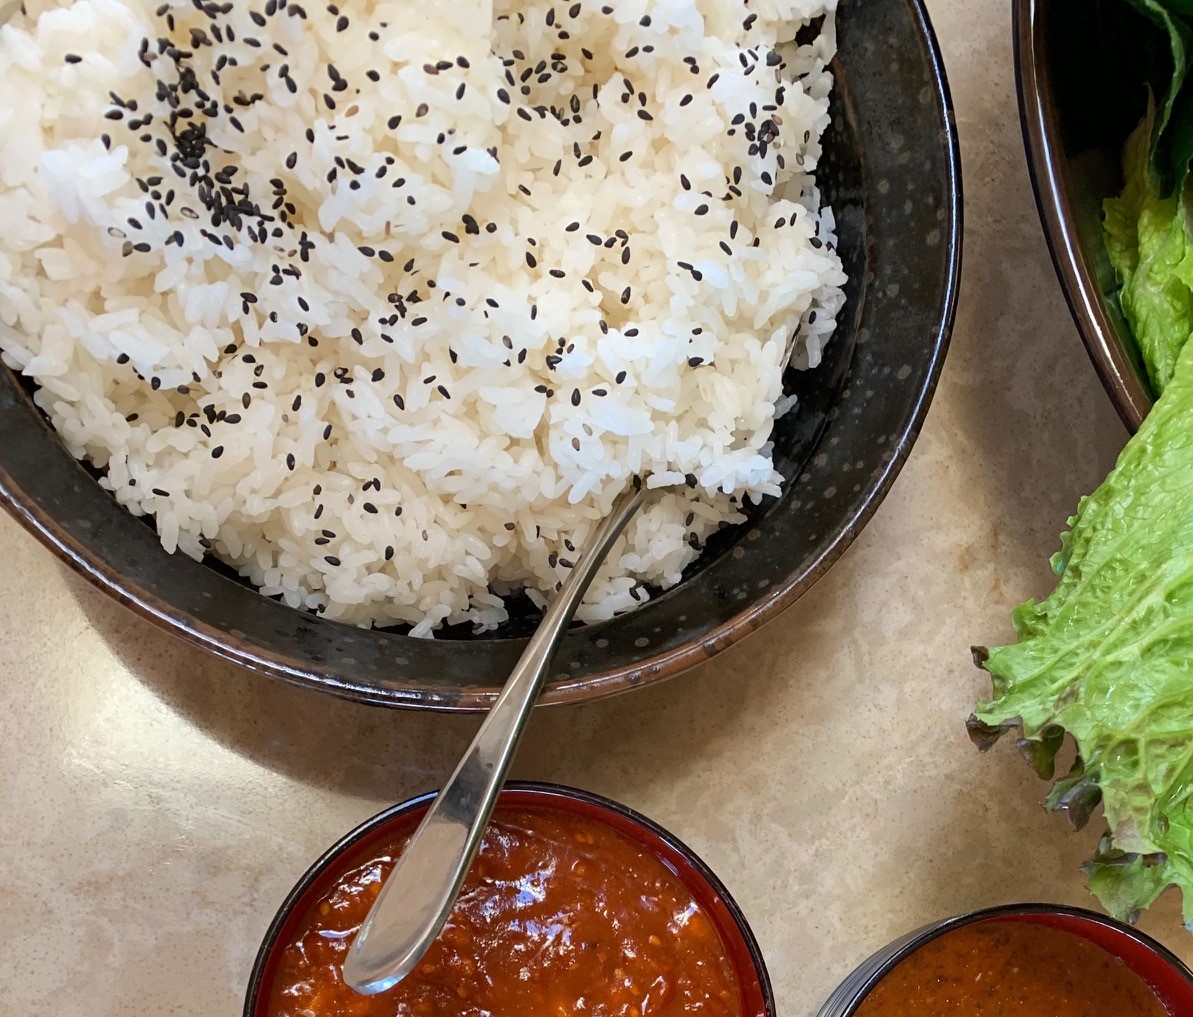
- sesame seeds (garnish)
Instructions
Stovetop Method
- Rinse rice thoroughly, at least twice.
- Combine 2 cups of rice with 2 ½ to 3 ½ cups of water, depending on type of rice. See notes below. Add salt and/or oil if desired.
- Bring to a full hard boil for at least 1-2 minutes.
- Reduce heat and simmer for 20 minutes, until all water is absorbed into rice grains.
- Remove from heat and let stand for 5-10 minutes.
- Fluff with fork/spoon, garnish and serve with today's feast!
Rice Cooker
- Rinse rice thoroughly.
- Follow instructions on rice cooker using measuring cup and lines on cooker pot designed to create perfect rice.
- Hit start, sit back and do nothing for 25-30 minutes.
- Fluff, garnish and serve with today's feast!
Notes
Even if you don’t nail it on the first shot, keep trying! Worst case scenario is that you lose like a dollar worth of rice and you learn something….which is what this is all about.
Troubleshooting:
How to identify and fix incorrectly cooked rice:
- Hard and chewy – You likely did not add enough water. Should be able to add more water and throw it back on simmer heat (covered) until extra water is absorbed and rice feels softer and non-chewy.
- Burnt – You likely cooked too long on high heat. See what you can salvage and do your best not to scrape the bottom of the pot during your recovery.
- Watery – If you measured proportions right, this likely means your rice is under-cooked. Simple fix is to put it back on simmer, covered, and continue cooking.
- Mushy and sticky – Too much water! While it probably won’t have the texture you want, there’s not actually anything wrong with this nutritionally. There’s a chance you can cook for a while longer with the lid off. If you do this, make sure to avoid burning to the bottom of the pot!
The simplest solution to having imperfectly cooked rice is: buy a rice cooker! These can be purchased for as low as $20-40 brand new. As long as you have room for storage in your kitchen, this is worth every penny and more. Try your search here on To spruce up your side dish, consider some of these variations:
Let us know how it goes. We’re looking forward to hearing how your families cook it!